The project
Choose three shots of the same scene with different framing or exposure. Aim for continuity across the cuts, while allowing genuinely different lighting to remain different. Start from a saved version of your sequence.
1. Confirm source interpretation
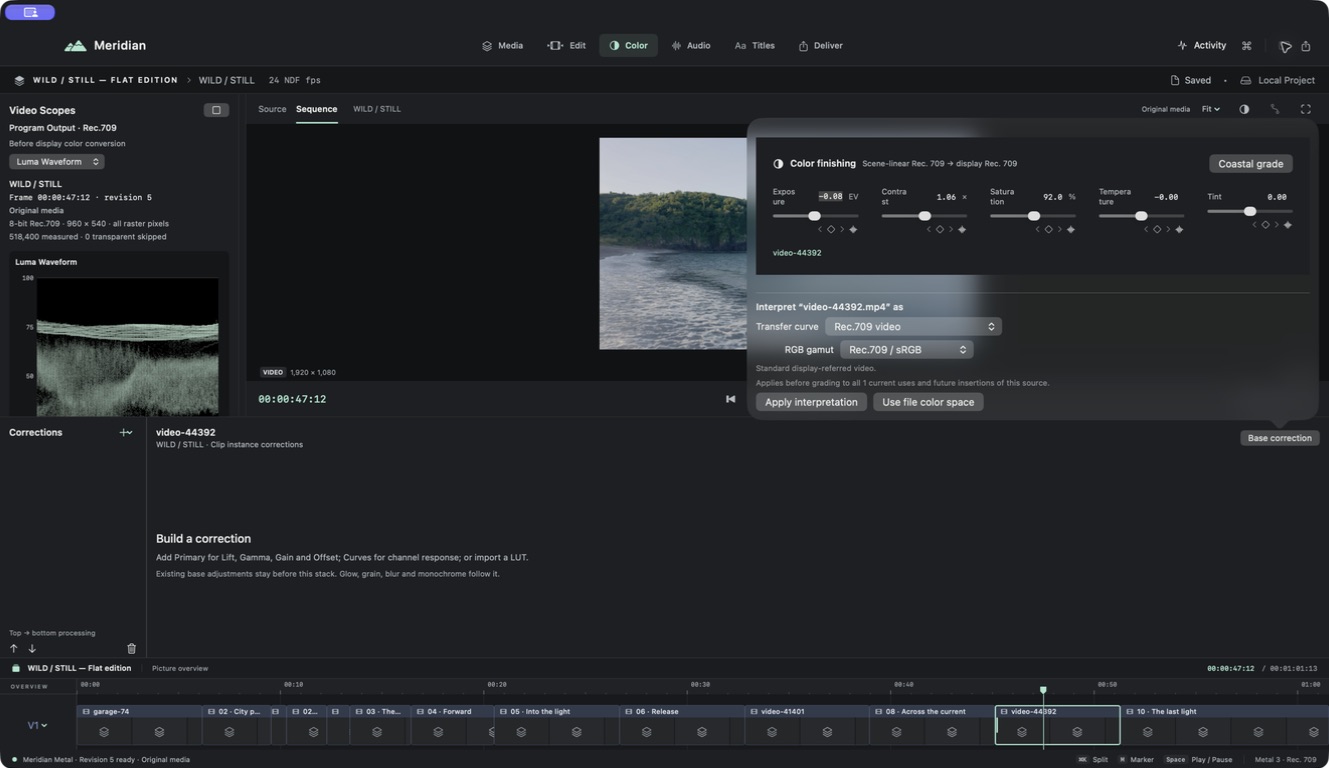
Check transfer curve and gamut information for each source. Footage from different cameras may need different input interpretation before similar grading controls make visual sense. Do not compensate for an incorrect input transform with increasingly extreme creative adjustments.
The current finishing path is SDR Rec. 709. Keep that output context in mind when judging wide-gamut or HDR recordings.
2. Pick a reference shot
Choose a shot with useful highlight detail, readable shadows, and representative skin or neutral objects if present. Balance it first. Use the waveform and channel information to support the picture you see.
3. Match the neighboring shots
Select the next clip in Color and compare similar objects. Adjust exposure and balance until the cut feels consistent. Use shot matching where appropriate, then inspect its result; differences in composition and lighting still require judgment.
Play the transition repeatedly rather than relying only on isolated still frames. A small brightness shift can become obvious at a hard cut.
4. Add the shared look
After balancing, add the intended creative direction. Keep correction order consistent where practical and adjust each operation’s mix to avoid overpowering individual shots. Revisit saturated objects and highlight transitions.
Review your result
Watch the whole scene and a representative export. The viewer should notice the story before a distracting shift in color. Preserve intentional changes in light instead of forcing every shot toward an identical scope shape.